Let’s shoot cool macro with a kit lens, spending only $2. Reverse lens
31.03.17
Standard kit lenses of system (DSLR, mirrorless) cameras are capable of providing fairly good shooting zoom, and for most users their macro capabilities are sufficient.
But what should you do if you want or need to take even larger photos – for example, to capture some attractive insect or other interesting object?
Manufacturers of photographic equipment provide special macro lenses for powerful (large-scale) macro photography. But many who like to experiment can be stopped by their rather high cost. Fortunately, there are much more affordable options.
There are special macro rings that increase the working distance. There is an option for screwing one lens in addition to another using a reversing ring (the second lens is screwed on the outside side to the lens mounted on the camera instead of a filter), and perhaps the most accessible option is to install the lens on the camera with the reverse side using a reversing adapter.
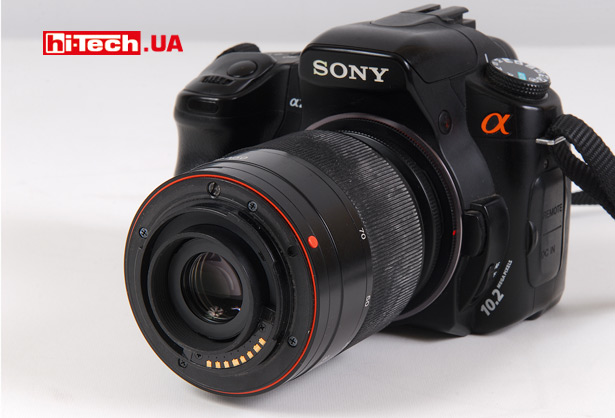
Oddly enough, by attaching the lens (in this case we are talking about the usual kit lenses that come with DSLRs and mirrorless cameras and usually have a focal length range of about 18-55 mm) on the back side, you can greatly improve its macro shooting capabilities .
We will consider this method in the article. All experiments were carried out on the basis of the time-tested 🙂 Sony Alpha DSLR-A200 SLR camera and its Sony DT 18-70mm 1: 3.5-5.6 kit lens.
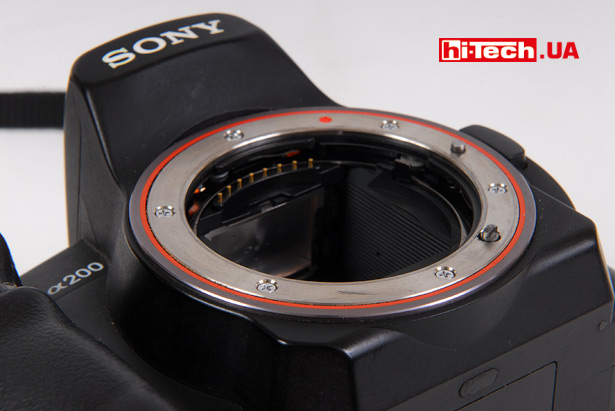
First, you need to make sure whether your system camera can even shoot without a lens installed, because by connecting the lens with the reverse side there will be no electronic connection between the camera and the lens.
DSLRs and mirrorless cameras, as a rule, can do this.
Connect the lens on the other side
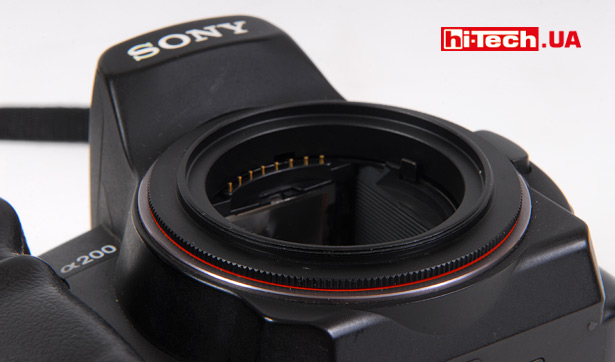
It is possible to achieve some results even by simply placing the reverse side of the lens against the mount with your hand, but it will be much more convenient to use a reversing adapter.
This adapter is a ring that has a thread on one side and can be screwed onto the lens instead of a filter, and on the other side there is a mount for installation on the camera bayonet.
This adapter must be selected based on the system used (camera brand and mount type) and the mounting diameter for the filters of your lens. There are various models available in the market.
In my case, the adapter has mounts for Sony SLR camera mounts (A-mount) and a thread with a diameter of 55 mm, which corresponds to the mounting diameter for Sony DT 18-70mm 1: 3.5-5.6 lens filters.
By the way, I purchased my adapter on Ebay for only $1.7. Surprisingly, the quality turned out to be at a very decent level. It may look like it’s made of plastic, but it’s actually made of metal.
When connecting the lens “in reverse”, with the inside out, you need to understand that autofocus will not work, you will not be able to control the aperture from the camera, and the shutter speed will most likely need to be selected manually.
How to set the aperture?
If you are using some old lens, where the aperture is selected by turning a mechanical ring, then setting the desired value will probably not be difficult.
But in more modern lenses, the aperture is set either using a special mechanical lever controlled by the camera, or the camera sends electronic signals to the lens, and the motor built into the lens already changes the aperture.
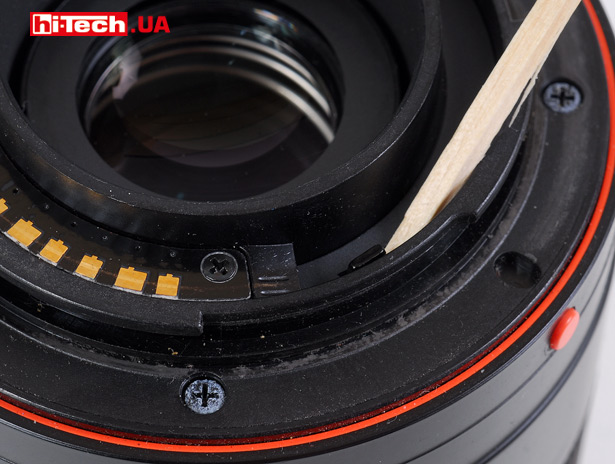
Many Nikon lenses for SLR cameras, with the exception of some models with the designation “E”, which appeared relatively recently, and the Sony DT 18-70mm 1: 3.5-5.6 used in my case use aperture control using a lever.
In the normal state, the lever is in its extreme position, which can correspond to either the maximum closed or maximum open diaphragm. It needs to be moved to some intermediate position (you choose based on your own preferences) and somehow secured. I secured the lever by inserting a piece of cardboard. The photo below shows an option for securing the position of the lever using a match. An additional inconvenience is that you will not know the specific aperture value when adjusting the position of the lever.
In lenses for Canon DSLRs, the aperture is set differently. Judging by the information on the Internet (I haven’t personally tried it), you need to attach the lens to the camera in the usual way, select the required aperture, activate the “depth of field” preview (in this case, the lens will set the selected aperture) and in this mode, with the camera turned on, remove the lens. The position of the selected aperture in the lens should be maintained.
It is difficult to say right away whether it is possible to adjust the aperture in a similar way in lenses of other systems. You need to take an individual interest in each system.
Why go through such difficulties and choose an aperture, why not leave it in its original state (maximum open or maximally closed, depending on the lens model)?
Maximum closed is not the best option for almost any shooting, and maximum open is not the best option for macro photography in particular. When closed as much as possible, the detail of the image will noticeably drop due to diffraction, and the maximum open aperture will lead to the fact that you will get in the photo the “finest” depth of field of the imaged space (DOF or depth of field). Therefore, when taking macro photography, it is still advisable to close the aperture somewhat.
Nuances of the shooting process
In practice, shooting macro with the lens “unfolded” turned out to be not very convenient. The distance from the edge of the lens to the object being photographed turns out to be very small: literally a few cm. It turns out that with the lens you are blocking part of the incident light, and in combination with a closed aperture this can lead to a lack of lighting. It is quite possible that the subject will need to be additionally illuminated.
A very shallow depth of field, even if you increase it by closing the aperture, also adds problems, and here it is no longer so important what method you use to shoot macro. A deviation in distance to the object of literally millimeters easily leads to the fact that the part that you need is completely different from the blur zone. And even minimal camera movements to the sides, which cannot be avoided when shooting handheld, lead to large movements around the frame.
In addition to the fact that automatic focusing will not be available at all, it may also turn out that manual focusing is practically useless. In my case, it was more convenient to focus by changing the distance of the camera to the subject than using the autofocus ring.
You should also be aware that macro photography will likely require the use of a tripod or other method of fixing the camera’s position.
Photo examples
Please note that all macro photographs are shown as a whole frame without enlargement or cropping.
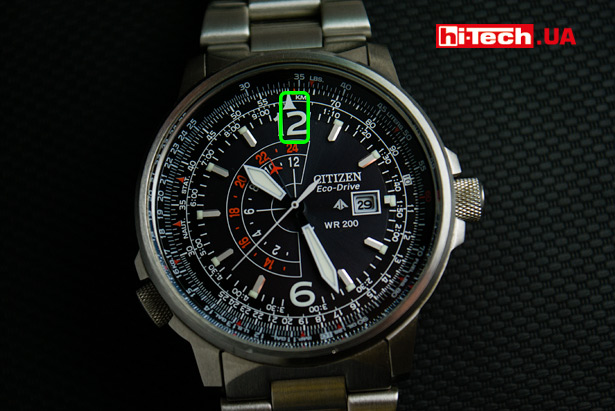
For comparison, the macro photography capabilities of the Sony DT 18-70mm 1:3.5-5.6 lens during normal use. The diameter of the watch is approximately 42 mm. It’s also worth noting that macro photography is far from the strongest point of this lens. Many other kit lenses cope with such tasks somewhat better.
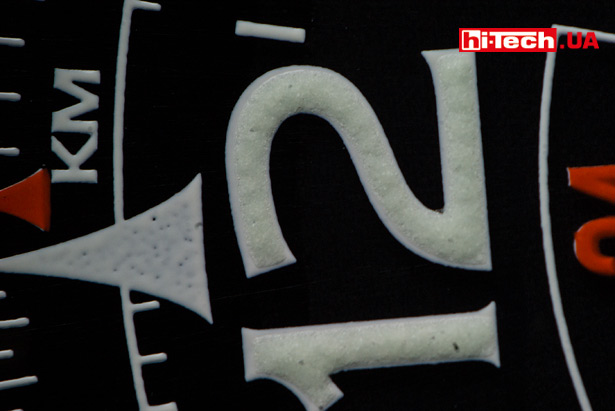
And this result can be achieved by installing the same lens in reverse.
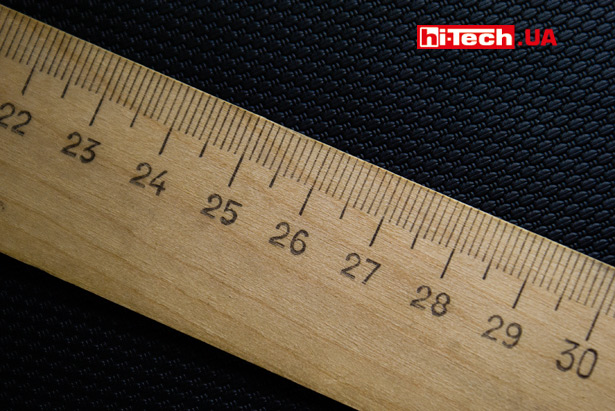
Another example for comparison. Ruler for normal use of the lens.
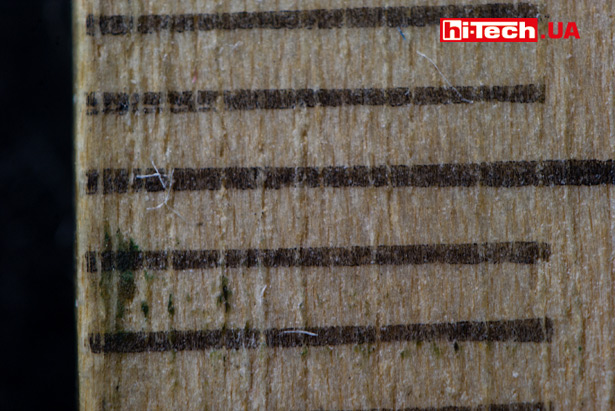
And an option with attaching the lens from the outside to the mount. The distance between divisions is 1 mm.
And here is an image of the WM8960 chip measuring 5×5 mm.
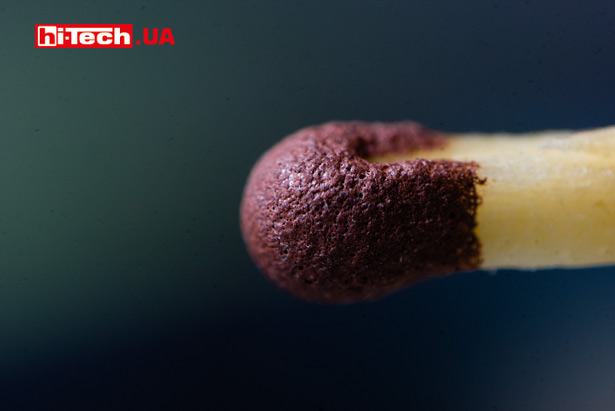
Match head.
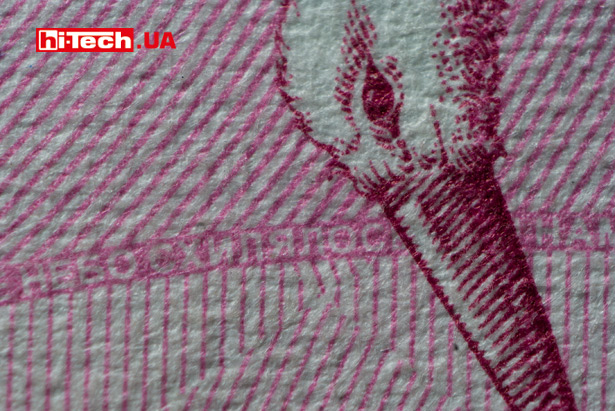
We look at the hidden miniature inscriptions on the 200-hryvnia bill.
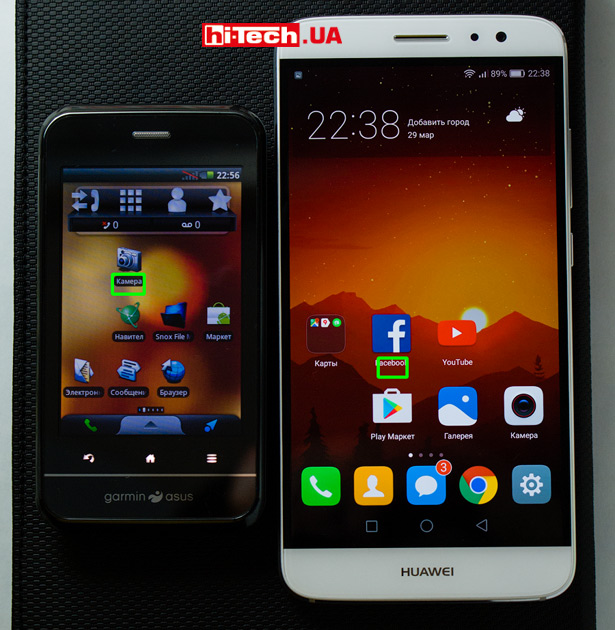
With powerful macro, you can also look at the pixel structure of smartphone screens. In the photo on the left is the Garmin-Asus A10 smartphone with a 3.2-inch screen with a resolution of 320×480 pixels, and on the right is Huawei nova Plus smartphone with a 5.5-inch screen and a resolution of 1920×1080 pixels.
It’s easy to notice that the Garmin-Asus A10’s pixels are much larger.
Advantages and disadvantages of shooting macro when installing the lens on the camera with the reverse side:
+ almost zero cost of additional costs and the ability to work with the most basic set of photographic equipment
+ you can achieve good macro photography results
- autofocus does not work
- short distance from the edge of the lens to the subject
- inconvenience with aperture control
- difficulties with manual focusing
- you will most likely need to manually control the exposure
Conclusions
Of course, there are quite a few disadvantages to the described macro photography method, when the lens is connected from the inside out. It is unlikely that a professional will put up with them. But for enthusiasts and hobbyists, this is a great way to experiment and try something new with your camera.
Read also:
- Review of the Fujifilm X-E2S mirrorless camera: when the shooting process is as exciting as the result
- Our top most interesting cameras at photokina 2016
- We are testing the cameras of Huawei P9, LG G5 se and Samsung Galaxy S7. Who takes better pictures?
Engineer of the Test Laboratory
Don't miss interesting news
Subscribe to our channels and read announcements of high-tech news, tes
Oppo A6 Pro smartphone review: ambitious

Creating new mid-range smartphones is no easy task. Manufacturers have to balance performance, camera capabilities, displays, and the overall cost impact of each component. How the new Oppo A6 Pro balances these factors is discussed in our review.
Poco M8 Pro smartphone review: give us more
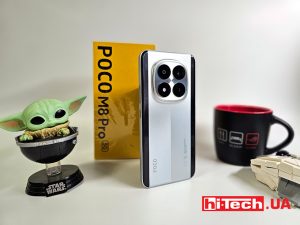
Poco M8 Pro 5G immediately catches the eye with its size and the manufacturer’s desire to offer more than you’d typically expect from a device in this price range. It’s not just another mid-range device.
Skoda to produce its millionth car in 2025 car statistics
Škoda emphasizes that the plant in Mlada Boleslav remains the only one in the Volkswagen Group where cars with internal combustion engines and fully electric models are assembled on the same production line.
Artificial intelligence entrusted with controlling the Perseverance Mars rover artificial intelligence space
Due to the large delay in the signal from Earth to Mars, which ranges from 3 to 22 minutes depending on the relative position of the planets in orbit, direct control of the rovers using a joystick is impossible.

